A Dimension Pattern must be assigned to a Variant Framework before it can be assigned to items.
LS Central provides multiple possibilities to assign Dimension Patterns:
- Item
A pattern can be assigned to an item on the Retail Item card. This setting applies to the selected item and all stores and variants. - Item Distribution
A pattern can be assigned on the Retail Item card in the Distribution FastTab. This setting applies to the selected item and store (or customer) combination. This setting affects all variants. - Item Dimension Pattern Link
A pattern can be assigned on the Item Dimension Pattern Link page. This setting applies to the selected item, dimension 1 and store (or customer) group combination.
The Dimension Pattern will be retrieved and used in the following priority:
- Item Dimension Pattern Link (Highest Priority)
- Item Distribution
- Item (Lowest Priority)
To assign a Dimension Pattern to a Variant Framework
- Navigate LS Retail- BackOffice- Product Design - Variant Framework- Variant Framework Codes Setup.
- Select an existing Variant Framework or create a new one by clicking New on the Home action menu. For more information see Variant Framework.
- On the Navigate action menu, click Patterns to open the Variant Dimension Pattern Link page.
-
Create the Variant Dimension Pattern Link by assigning a Dimension Pattern Code to the Variant Framework.
A Variant Framework can have multiple Dimension Patterns linked to it: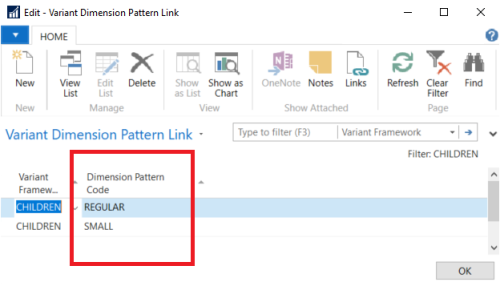
To assign a Dimension Pattern to an Item
- Navigate LS Retail- BackOffice- Lists- Retail Items.
- In the Retail Items list, select an existing item and click Edit, or create a new item by clicking New in the Home action menu. For more information see Retail Items.
- In the Retail Item Card, ensure that the Variant Framework Code field has a Framework Code that has a linked Dimension Pattern.
-
Still in the Retail Item Card, go to the Merchandising FastTab and fill in the Dimension Pattern Code.
The Dimension Pattern Code that is defined in the Retail Item Card will serve as a default pattern and it has the lowest priority compared to the dimension patterns defined in Item Distribution and Item Dimension Pattern Link.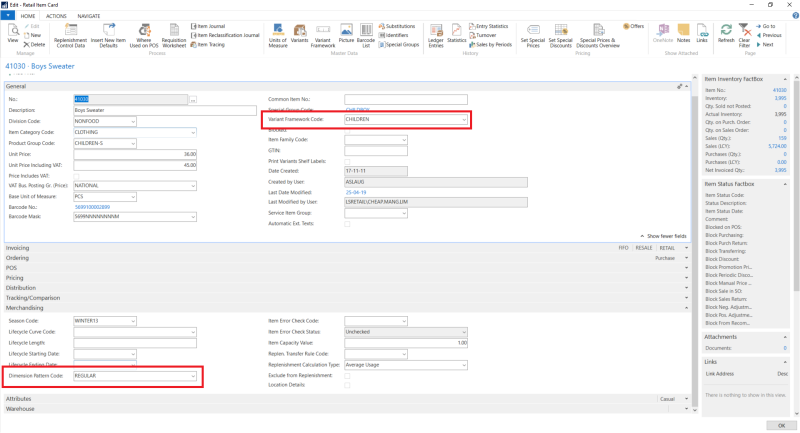
To assign a Dimension Pattern to an Item by Stores and Customers
You can define the Dimension Pattern manually in Item Distribution:
- Navigate LS Retail- BackOffice- Lists- Retail Items.
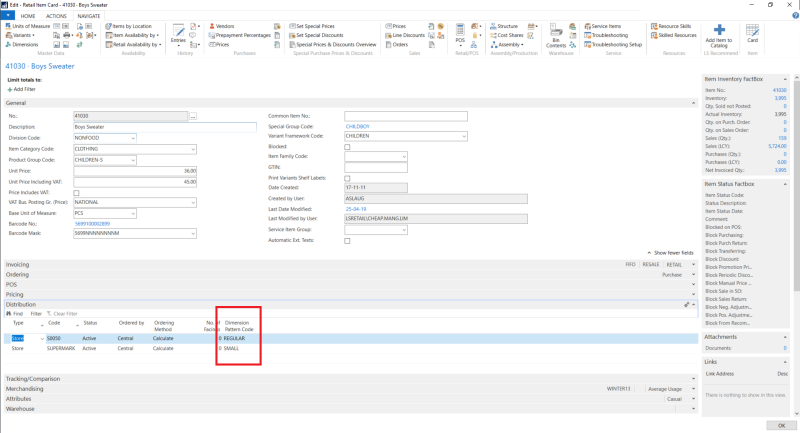
- Open the Retail Item Card, and go to the Distribution FastTab.
-
In the existing or new Item Redistribution line, fill in the Dimension Pattern Code:
Alternatively, you can update the Item Distribution with an Dimension Pattern Code that was filled using a Hierarchy Relation:
- Navigate LS Retail- BackOffice- Lists- Hierarchy Relations.
- Select an existing Hierarchy Relation with Usage Type Assortment, or create a new Hierarchy Relation (see How to: Create Hierarchy Relations).
- Select the combination with an established relation where Relation Type is Related or Inherited.
-
Fill in the Dimension Pattern Code:

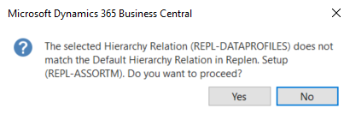
- Click the Update Item Distribution action in the Replenishment action group.
-
Click Yes in the confirmation box to update the Item Distribution:
To assign a Dimension Pattern to Variant Dimension 1 by Stores and Customers
- Navigate LS Retail- BackOffice- Lists- Retail Items.
- On the Navigate action menu, click Variants, then select Dimension Pattern in the drop-down menu. The Item Dimension Pattern Link page is displayed.
- Fill in the Dimension 1 field.
Note: You can also fill in Type and Code if you want to assign the Dimension Pattern to specific customers or stores. -
Fill in the Dimension Pattern Code. This field is mandatory.

In the example above, the effective Dimension Pattern for Variant Dimension 1 value BLACK is SMALL in stores S0001 and S0002. The other stores will use the Dimension Pattern Code REGULAR instead.
See Also